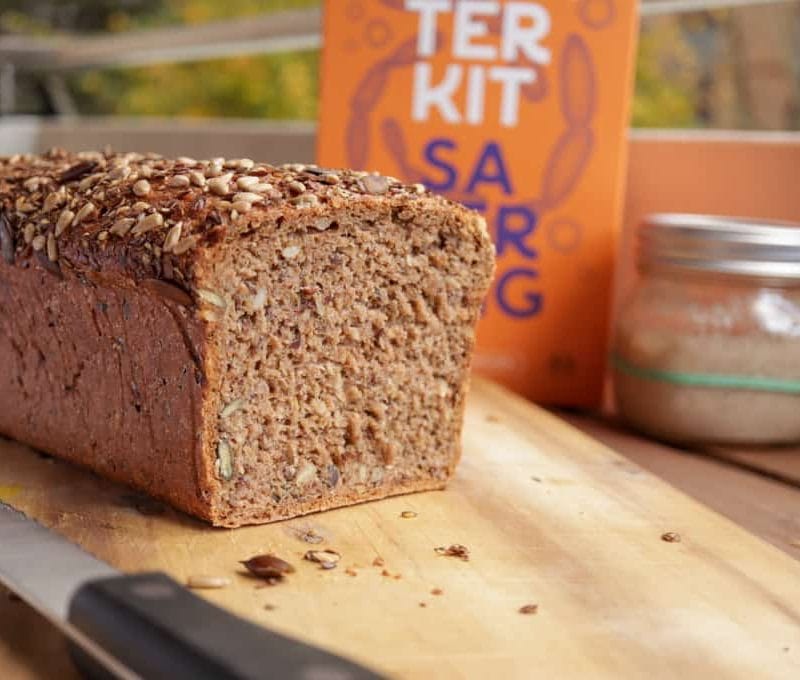
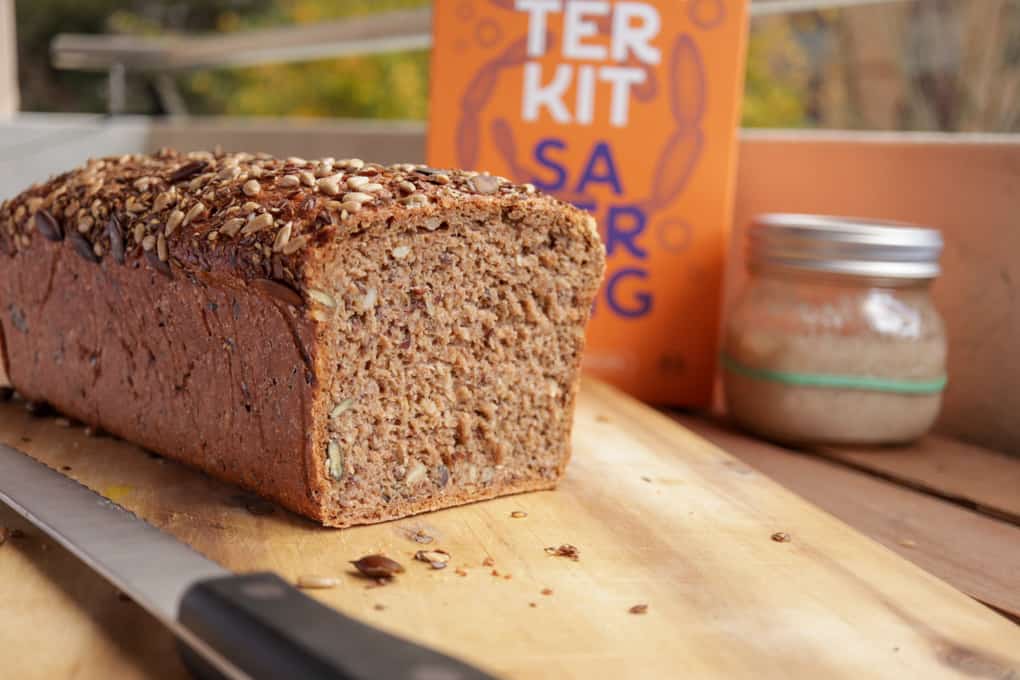
This seeded rye sourdough bread from 100% whole wheat rye flour is super worth the task of learning a bit more about sourdough. The result won’t let you down!
Baking bread has never been my strong suit
To be honest with you, baking bread has never really been my strong suit. And with sourdough on top of that.. I remember how last year, all my attempts on trying to make sourdough failed miserably, thus leading me to give up. I just came to terms with the fact that I’ll never be a good bread baker.
But how the tables have turned! With a little help from the Sourdough Starter Kit I’ve actually managed to bake the perfect rye sourdough! All about how that came to happen you can find in this post.
The experimenting begins
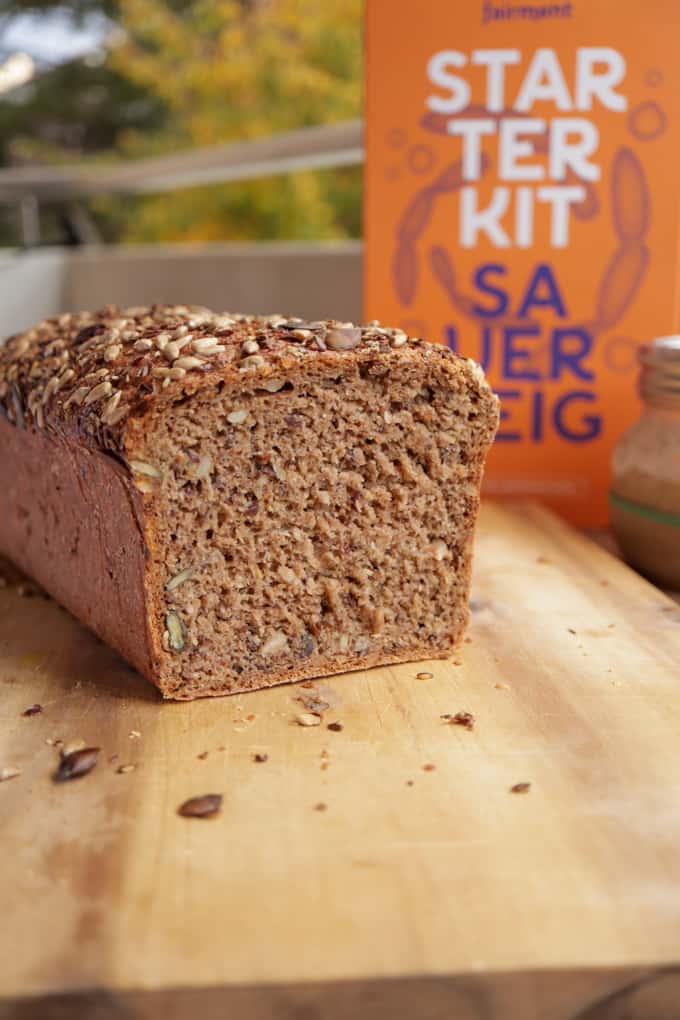
“Is this really going to work?” I asked myself when I held the Starter Kit by Fairment in my hands for the first time. Like I said, my experiences with making sourdough had always been unsuccessful up until this point, leaving me frustrated and desperate.
But thanks to the Sourdough Starter Kit I was guided through the process and experimentation with sourdough very gently. The booklet, which is part of the package, contains an incredible amount of useful information all around sourdough (sidenote: up to now, the booklet is unfortunately only available in german), all put together nicely and simple to understand. Also included in the booklet are a lot of recipes, for example rye box bread, spelt rolls, banana bread and pancakes. Not all of those recipes are vegan, but are very easily veganized.
So, how did I proceed?
First of all I informed myself about what sourdough even is in the first place: Which organisms are responsible for the fermentation process, and why the whole thing makes so much sense and is so very healthy.
In a next step I finally also dared to experiment. Doing this, I made sure to really precisely follow the recipes and instructions in the booklet. And it actually worked! After making some positive experiences, I dared to change up the original recipes a little bit, which is how this recipe came to be. It’s a slightly modified version of a recipe from the sourdough booklet by Fairment and also – have I already mentioned this? – suuuuuper yummy!
Willi – our new “pet”
The starter kit of course comes with a sourdough starter, which I have fed patiently. By now it has grown quite a bit and we’ve got three big cups with this very active sourdough starter in our flatshare. One to give away, one to use for ourselves, and the third one we’ve kept to practice what it’s like to one day have a real pet 😀
My roommate has lovingly named the sourdough Willi, who has now become a member of our WG. He’s also very easy to care for, considering we only have to feed him once per week.
My conclusion
Getting into the “sourdough game” is 100% worth it and thanks to the Sourdough Starter Kit by Fairment, success is guaranteed!
Need to be fast?
You don’t have a lot of time, but still feel like baking? You might want to check out the vegan apple cinnamon rolls then. 😉
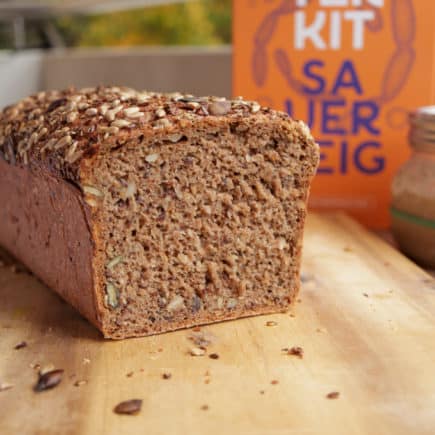
Seeded Rye Sourdough
Ingredients
For the pre-dough:
- 80 g rye sourdough starter
- 385 g water
- 350 wholegrain rye flour
- 7 g salt
- 40 g flax seeds
- 40 g sesame seeds
- 40 g pumpkin seeds
- 40 g sunflower seeds
For the main dough:
- 1 x the pre-dough
- 320 g wholegrain rye flour
- 210 g water
- 7 g salt
- optional: 2 Tsp bread spice
Instructions
- Activate starter: Make sure your starter is active enough. It should‘ve been fed within the past 7 days and kept in the fridge. If that isn‘t the case, then activate it first by feeding it and letting it grow in room temperature overnight. (More infos on this in the correlating video on my Youtube channel.)
- Pre-dough: The evening before baking day, blend all ingredients for the pre-dough together in a big bowl with a wooden spoon. Cover the dough and let it grow overnight in room temperature for 12-16 hours.
- Main dough: The next day, blend the rest of the ingredients for the main dough with the now risen pre-dough in the big bowl until you have an even, sticky dough.
- Stock cook: Place baking paper into a box form and fill in the dough into the form. Smoothen the surface with a rubber scraper. At this point you can spread one handful of seeds onto the surface of the dough. Place the box form into a clean plastic bag and let sit for another 2-5 hours. When the surface starts to show cracks and the dough has visibly grown over the edge of the form, it is ready for baking.
- Baking: Place a tray into the bottom rays of your oven and pre-heat it to minimum 220 C circulation. When the oven has reached this temperature, place the box form onto a grid onto the middle rays of your oven and pour a cup of water into the tray at the bottom of the oven. Quickly shut the oven door again. Now set the oven to 170 C and bake the bread for 90-100 mins. (The water in the tray at the bottom of the oven adds steam, and thus extra heat which makes for a nice and crispy crust.)
- After baking, take the tray out of the box form, separate the bread from the baking paper and place it on a grid to cool down completely. Only cut the bread once it has completely cooled down since it sort of continues to finish baking as long as there‘s warmth inside of it.
Notes
- You can of course also feel free to use different seeds and nuts, for example hemp- or chia seeds, hazel- or walnuts etc.
- More infos and a more thorough tutorial for this recipe can be found in my correlating Youtube video.
